Generating images using Stable Diffusion#
In this notebook we demonstrate how to use free models such as Stable Diffusion 2 from the huggingface hub to generate images. The example code shown here is modified from this source.
import torch
import numpy as np
import stackview
from diffusers import DiffusionPipeline, AutoencoderTiny
All models from the Huggingface hub work similarily. A pipe is set up which can be executed later. When executing this code for the first time, multiple files will be downloaded, which are locally stored in a foolder .cache/huggingface/hub/<model_name>. These folders can become multiple gigabytes large and this may take some time. When executing the code again, the cached models will be used and the process will be much faster.
pipe = DiffusionPipeline.from_pretrained(
    "stabilityai/stable-diffusion-2-1-base", torch_dtype=torch.float16
)
If a powerfull CUDA-compatible graphics processing unit (GPU) is available, the executable pipe can be loaded on the GPU. In most cases, this is limited by available GPU memory. Only rare capabale models are executable on laptop GPUs.
pipe = pipe.to("cuda")
After the pipe has been set up, we can execute it like this:
prompt = """
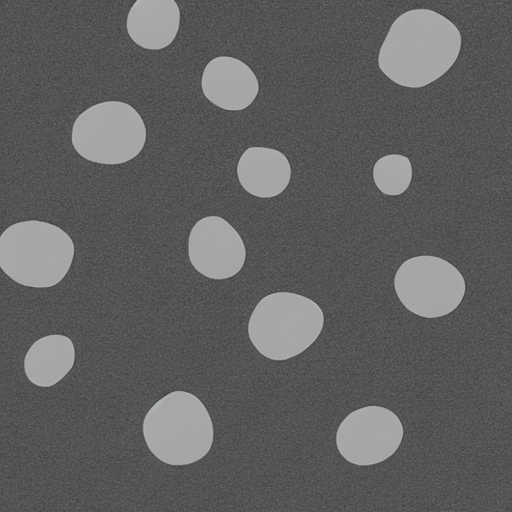
Draw a greyscale picture of sparse bright blobs on dark background.
Some of the blobs are roundish, some are a bit elongated.
"""

image = pipe(prompt).images[0]
image

Depending on the model / pipeline, we can specify additional parameters:
image = pipe(prompt,
             num_inference_steps=10,
             width=512,
             height=512).images[0]
image

The image is a pillow image.
type(image)
PIL.Image.Image
It can be converted to numpy like this
image_np = np.array(image)

stackview.insight(image_np)
|
|
|
Exercise#
Use the pipe() function and prompt for another image, e.g. showing a cat sitting in front of a microscope.
